
Refurbishing a mobile phone battery sounds technical and risky at first. Many people fear mistakes or harming their phone.
But with the right steps and tools, you can refresh old batteries safely and extend their life.
I have worked with phone parts long enough to know that many batteries are replaced too early because people think they cannot be revived. I want to show you a clear path to safe refurbishment, what works, what doesn’t, and when it’s worth your time.
What steps are needed to refurbish a phone battery?
Refurbishing a phone battery is not magic. You must follow safe steps to check, test, and if possible, restore battery capacity without risking damage.
Refurbishing involves inspection, testing, cleaning contacts, and careful charge cycles to recover some lost capacity and stabilize the battery.
Refurbishment starts with understanding what “refurbish” means. It does not mean creating new battery capacity where none exists. Instead, you diagnose the state of the battery and take steps to make it work more reliably. Here is a step‑by‑step view of the process I follow.
Step 1: Safety first
Before anything, batteries need safety checks. Lithium‑ion cells can be sensitive to heat, pressure, and improper handling. I always:
- Wear safety gloves and eye protection.
- Work in a clean, dry area with no metal objects around.
- Keep a fire extinguisher rated for electrical fires close.
These simple steps protect you from accidents.
Step 2: Remove the battery carefully
Some phones have removable batteries, others don’t. For fixed batteries:
- Use proper opening tools.
- Avoid bending or puncturing the battery.
- Follow guides specific to your phone model.
If the battery is swollen, stop and do not press on it because that can cause leakage or fire.
Step 3: Visual inspection
After battery removal:
- Check for swelling or leaks.
- Look for damage or corrosion at the terminals.
- See if contacts are clean and intact.
If any cell is bulged or leaking, it should not be refurbished.
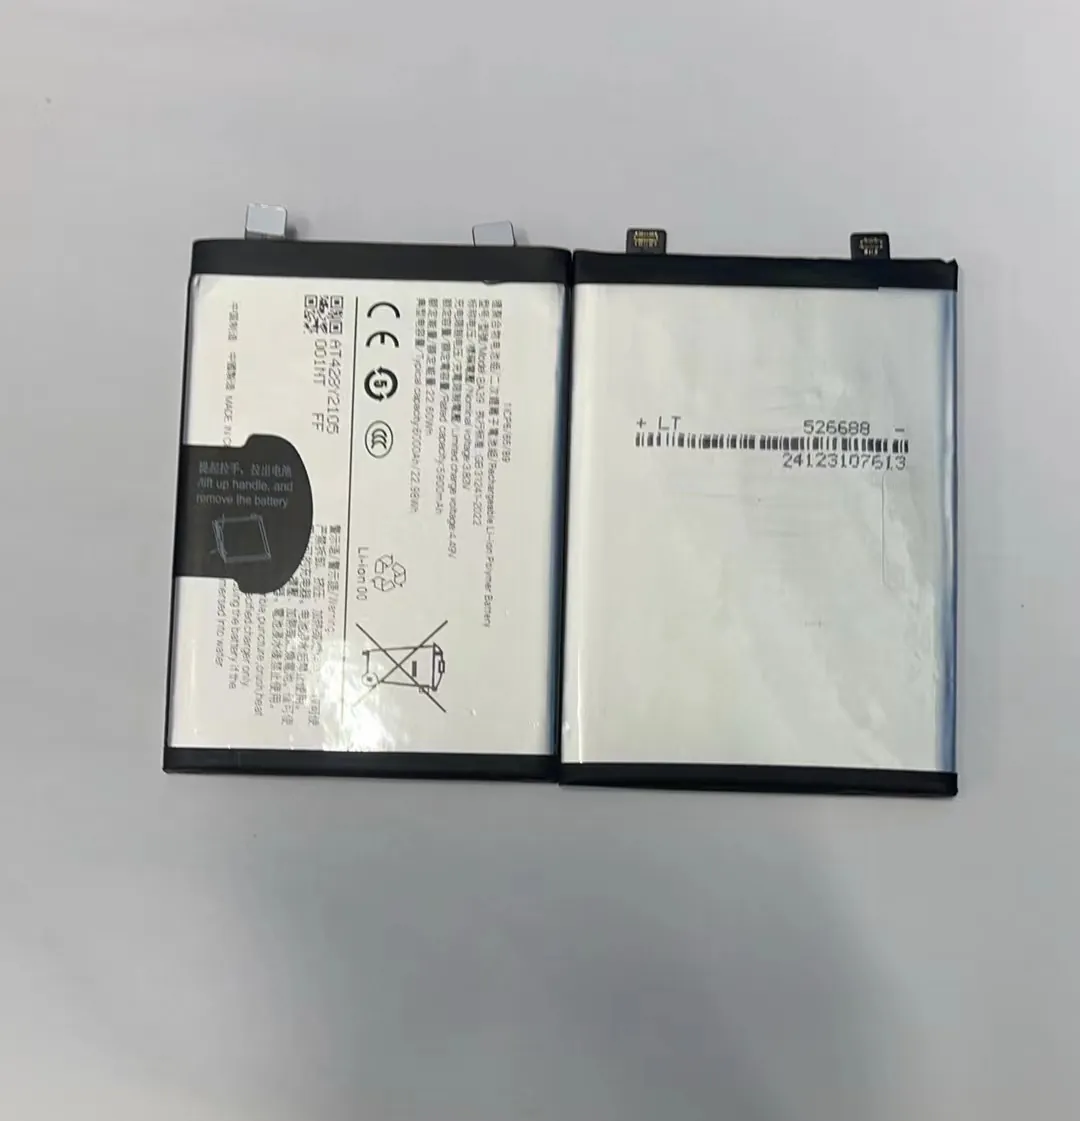
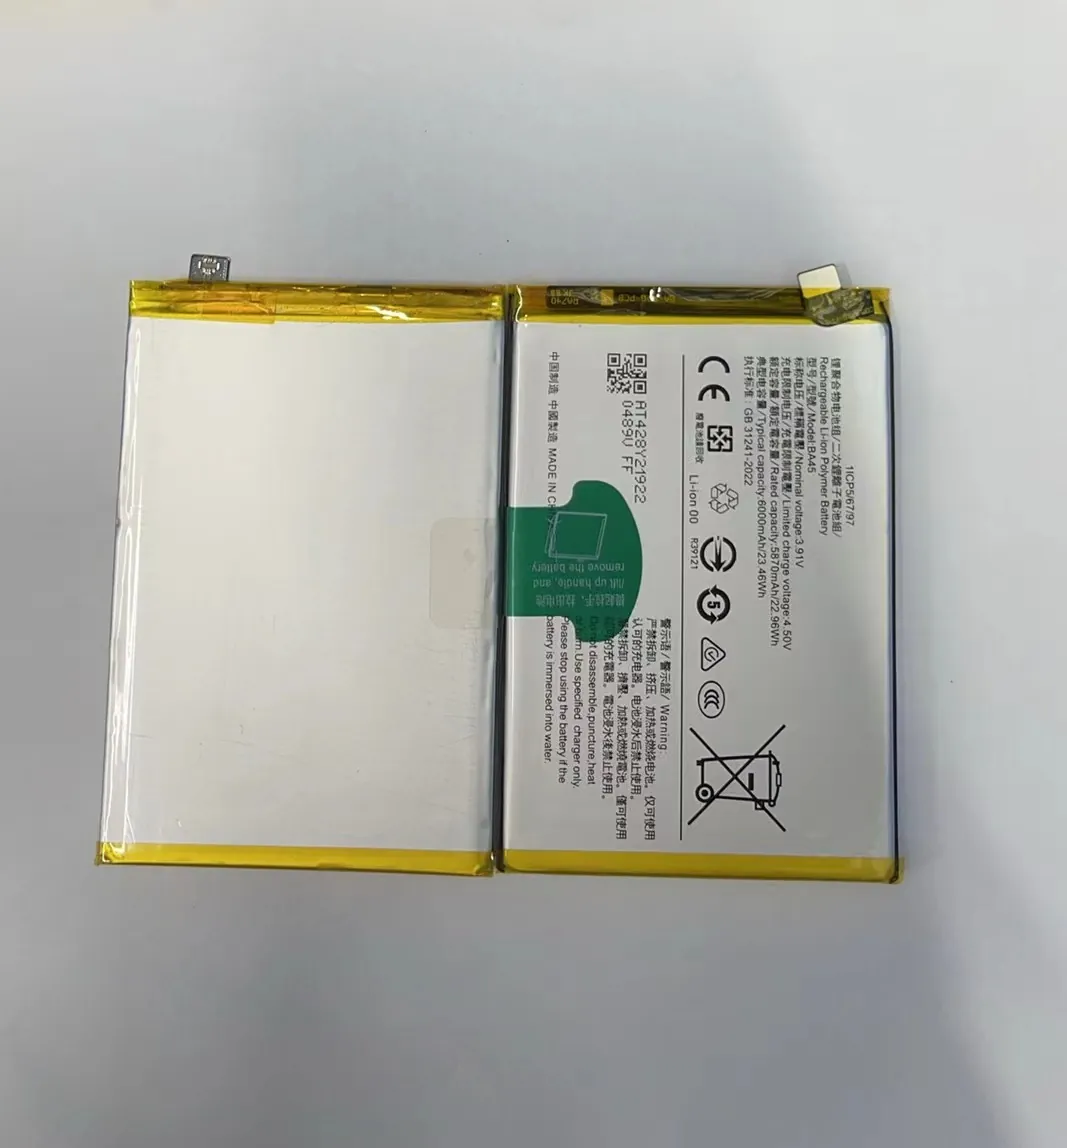
Step 4: Cleaning terminals
Dirty or corroded terminals can block proper contact. Use isopropyl alcohol and a small brush to gently clean contacts. Dry them fully before reconnecting or testing.
Step 5: Initial testing
Here, I use a basic battery tester to read voltage and capacity. A healthy lithium battery should show a voltage near its nominal value (usually around 3.7–4.2 V for single cells). If voltage is too low, many chargers won’t accept it.
Step 6: Controlled charging cycles
This is the key part of refurbishment:
- Use a smart charger with safety limits (current and voltage).
- Charge the battery slowly to full capacity.
- Discharge down to a safe level.
- Repeat a few cycles.
This process can sometimes restore stability and improve the battery’s ability to hold charge.
Step 7: Final testing and installation
After cycles, test capacity and voltage again. If improvement is measurable and the battery runs longer than before, it may be worth reinstalling.
If capacity is still poor, replacement is a better choice.
Here is a summary table of steps and what they check or improve:
| Step | What It Does | Why It Matters |
|---|---|---|
| Safety checks | Protects you | Battery mishandling can be dangerous |
| Removal | Accesses the battery | Must be done without damage |
| Visual inspection | Detects physical issues | Some issues mean no refurbishment |
| Cleaning | Improves contact | Dirty terminals reduce performance |
| Initial testing | Measures health | Shows if battery can be saved |
| Controlled cycles | Stabilizes chemistry | Can improve capacity |
| Final testing | Confirms result | Shows if refurbishment worked |
Refurbishment requires patience and care. Skipping steps increases risk or can damage the battery further.
Can old batteries be safely restored?
Many people ask if old batteries can truly be restored after months of use. The answer is: sometimes, but not always.
Old batteries can sometimes recover part of their capacity if they were poorly conditioned or have surface charge issues, but physical deterioration cannot always be reversed.

Batteries age because their internal chemistry changes over time. Even unused cells lose capacity slowly. When a battery is old, its ability to accept charge weakens and internal resistance increases. Some of this is reversible, but much is not.
What limits restoration
Internal degradation is not visible and not something you can fix with simple tools. Common issues include:
- Loss of active material inside cells
- Increased internal resistance slowing charge
- Chemical breakdown of electrodes
- Tiny shorts or dendrite growth inside cells
These issues reduce capacity and efficiency. No charger or cycle process can completely restore material that is chemically changed.
When restoration helps
Restoration works better when the battery was:
- Not extremely old
- Not overheated
- Not deeply discharged repeatedly
Some batteries suffer from a “memory effect” or surface charge imbalances. Controlled charge and discharge cycles can help rebalance these and show better performance after refurbishment.
When not to try restoration
Do not attempt to restore if the battery is:
- Swollen or leaking
- Very old (years of use)
- Showing large capacity loss with high internal resistance
These are signs of permanent degradation and require replacement for safety reasons.
Safety risks in attempted restoration
Trying to revive a badly damaged battery can be unsafe. Problems include:
- Fire or explosion
- Chemical leakage
- Damage to tools or phone
Using proper testing tools and safety gear is crucial. If you are not confident, professional refurbishment or replacement is safer.
What a safe restoration looks like
Here is a table to help you decide if refurbishment is reasonable:
| Condition | Likely Restorable | Notes |
|---|---|---|
| Slight capacity drop | Yes | Good candidate |
| Frequent deep discharges | Maybe | Limited improvement |
| Swelling or damage | No | Unsafe to refurbish |
| Very old battery | No | Replace instead |
| Corroded terminals only | Yes | Clean and test |
Not all batteries come back to life. Some get a small boost, others stay the same. The key is to judge condition accurately and act safely.
What tools are used in battery refurbishment?
You cannot refurbish a battery with bare hands. You need proper tools that help you inspect, test, and charge the battery safely.
Battery refurbishment uses testers, safe chargers, opening tools, and safety gear to handle cells without risk and measure improvements accurately.
Having the right tools makes the process safer and increases your chances of successful restoration. Here are the main tools I use in my work with phone batteries.
Safety equipment
Safety matters first. I always use:
- Safety gloves
- Safety goggles
- Fire‑resistant work mats
These protect me from sparks, leaks, or short circuits.
Phone opening tools
Phones have delicate parts. I use:
- Plastic pry tools
- Precision screwdrivers
- Suction cups
These help me open the phone without bending or breaking components.
Battery testers
These tools measure voltage, current, and internal resistance. Good testers show:
- Voltage level of battery cells
- Approximate capacity
- Internal resistance
This tells me if the battery still has life or is mostly degraded.
Smart chargers
A smart charger can:
- Limit current and voltage
- Perform controlled charge and discharge cycles
- Protect against overcharge
This is one of the most important tools for refurbishment.
Multimeter
A multimeter helps measure voltage and resistance manually. It is useful for:
- Checking contact points
- Measuring terminal voltage
- Diagnosing wiring issues
Cleaning supplies
Corroded terminals often reduce performance. I use:
- Isopropyl alcohol
- Soft brushes
- Cotton swabs
These clean contacts without leaving residue.
Here is a simple table of tools and their roles:
| Tool | Purpose | Why It Matters |
|---|---|---|
| Safety gloves | Protect hands | Prevent burns and cuts |
| Safety goggles | Protect eyes | Guard against splashes or sparks |
| Opening kits | Access battery | Prevent damage to phone |
| Battery testers | Measure health | Shows real battery condition |
| Smart chargers | Controlled charging | Helps stabilize and test |
| Multimeter | Manual measurement | Confirms readings |
| Cleaning tools | Clean contacts | Improves connectivity |
Investing in these tools pays off if you refurbish batteries often. Cheap or generic tools may give wrong readings or worse, damage the battery.
Is DIY refurbishment cost‑effective?
Many people try DIY battery refurbishment to save money. Before you start, it is important to think about costs compared to buying a new battery or paying a professional.
DIY refurbishment can save money if the battery has a chance to improve and if you already have some tools or plan to use them often. For one‑off cases, costs may outweigh savings.
Cost effectiveness depends on these factors:
Cost of tools vs value saved
If you buy all tools new, the total cost can be high:
- Smart charger
- Battery tester
- Opening kits
- Safety gear
If you only fix a battery once, that cost may exceed the price of a new battery.
But if you refurbish often, tools become valuable assets. For a workshop or repair business, refurbishment tools pay back over several jobs.
Savings from refurbished battery
A new original battery can be expensive. A refurbished battery may last months longer and delay replacement. But its performance varies. If the battery only improves a little, the value saved might be low.
Time and effort
Refurbishment takes time:
- Learning steps
- Testing cycles
- Safety precautions
This effort has value too. For hobbyists or professionals, this time may be worth it. For casual users, replacement might be easier and faster.
Risk costs
If a battery fails while refurbishing, you may:
- Damage the cell permanently
- Need a new battery anyway
- Risk phone damage
These risks add to effective cost.
DIY versus professional
Professionals often have:
- Better tools
- Experience
- Safer environments
They can sometimes refurbish more safely and reliably. Paying a professional can be cost‑effective if you lack tools or skills.
Here is a simple cost comparison:
| Cost Type | DIY | Professional | New Battery |
|---|---|---|---|
| Tool purchase | High upfront | Included | None |
| Battery cost | Low or none | Low | Medium |
| Time spent | High | Low | None |
| Safety risk | Higher | Lower | None |
| Long‑term savings | If many jobs | Yes | No |
DIY refurbishment can be cost‑effective if you do it often and already have tools. For single use, buying a new battery might be cheaper.
Conclusion
Refurbishing a mobile phone battery can be worth the effort if the battery condition allows recovery. With the right tools and safety steps, some life can be restored, but not always. If you work with batteries often, it’s a good skill to have. If not, replacing may be smarter.
